My Cart  

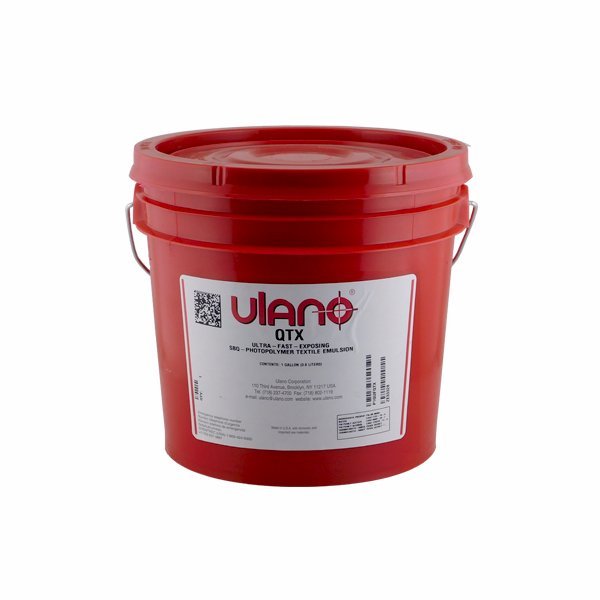
Ulano QTX Plastisol Emulsion

Only %1 left
SKU
ulanoQTX
As low as $37.02

Ulano QTX is a ready-to-use, ultra-fast exposing SBQ photopolymer direct emulsion formulated for imprinted sportswear applications. Ulano QTX has a high solids content that provides superior coating properties, better bridging of coarse mesh, and fast drying. Ulano QTX is designed for plastisol inks, is extremely durable and reclaims easily. Do not subject to strong solvents during printing or wash-up.

To remove Ulano QTX off the screen you can use

Mclogan Emulsion Remover Concentrate
or Ulano #4 Stencil Remover

5 Gal buckets are drop ship from MFG.

Color Solids Viscosity Sensitizer Solvent Resist Water Resist Est. 305 mesh BL Speed Est. 305 mesh
1K MH Speed
Est. 305 mesh
5K MH Speed
Shelf Life
Pink 46% 7,100 - 8,100 cps SBQ mild poor 180 seconds 60 seconds 8 seconds 18 months in cool dry storage

 ULANO QTX® 
ULTRA-FAST-EXPOSING SBQ-PHOTOPOLYMER TEXTILE EMULSION

                        Ulano QTX is resistant to plastisol inks and, with diazo added, to many water-based inks. Stencils made with QTX are extremely durable and can be reclaimed easily.


INSTRUCTIONS
Step 1: PREPARE THE FABRIC Used or surface treated fabric need only be degreased using Screen Degreaser Liquid No. 3, It increases the surface area of fabric for a better mechanical bond of the stencil, increasing printing run length.

Step 2: SENSITIZING QTX is fully presensitized. No sensitizer need be added. QTX should be handled only under yellow safe light conditions.

Step 3: COAT THE SCREEN
Method 1: Apply one coat of emulsion on the printing side, then one coat on the squeegee side. Dry the screen thoroughly. Method 2: Apply two coats on the printing side, then two coats on the squeegee side, wet-on-wet. After each coating, rotate the screen 180°. Method 3: Follow Method 2 (above). Then, after drying the screen, apply two additional coats on the printing side, wet-on-wet.

Step 4: DRY THE SCREEN
Dry multicoated screens (Methods 2 or 3) thoroughly in a horizontal position, printing side down, at room temperature in a dirt- and dust-free area. Use a fan to speed drying. If using a commercial dryer, dry the screen with warm, filtered air, up to 104° F. (40° C.).    Use a humidifier in the drying area, if possible.

Step 5: CALCULATE THE EXPOSURE
Refer to the Base Exposure Table (reverse side). Base Exposure Time X Exposure Variable Factors = Approximate Exposure Time.,

Step 6: STEP WEDGE TEST
Calculate five test exposures—two below and two above the Approximate Exposure Time. Tape the test positive to the screen. Expose the screen for the shortest exposure time to be tested. Mask 1/5 of the positive and expose the screen to arrive at the next shortest exposure time. Repeat this procedure until five exposures are made, to arrive at the longest exposure time. Make a print from the stencil and compare it to the test positive. The optimum exposure is indicated by: ■ No positive outline or darkening of the emulsion color is observable if the exposure is increased. ■ The squeegee side emulsion is hard and not slimy. ■ The print best duplicates the test positive at the needed level of resolution.

Step 7: WASHOUT
After exposure, wet both sides of the screen with a gentle spray of cold water. Then spray forcefully from the printing side until the image areas clear. Rinse both sides of the screen with a gentle spray until no soft emulsion is left on the squeegee side, and no foam or bubbles remain. Blot excess water from the printing side with newsprint (unprinted newspaper stock).

Step 8: BLOCKOUT AND TOUCHUP Option 1: Before drying and exposing the coated screen, use excess emulsion from the coating step to cover the blockout area. Option 2: For non-water based-inks, after exposure and washout, dry the screen. Apply Screen Filler No. 60 or Extra Heavy Blockout No. 10. Touchup Option 1: Use excess emulsion and re-expose the screen. Touchup Option 2: For non-water-based inks, use Screen Filler No. 60 or Extra Heavy Blockout No. 10 thinned with water.

Step 9: STENCIL REMOVAL Use mineral spirits, or the least powerful ink diluent necessary, to remove all ink remaining in the screen. Strong solvents can fuse QTX stencils to the fabric. Use Screen Degreaser Liquid No. 3 to help remove ink and solvent residues that might impair the action of the stencil remover. Brush Stencil Remover Liquid No. 4 on both sides of the screen. Do not let the stencil remover dry on the screen. Wash the screen with a forceful spray of water. Use
Franmar D-Haze Gel to remove ink and haze residues, if necessary.


More Information
SKUulanoQTX
File UploaderNo
ManufacturerUlano

Downloads