

Last Updated: November 16, 2026
Quick Summary
Troubleshooting screen printing emulsion issues starts with reading the symptom, not replacing the product. A stencil that washes out completely points to exposure, flaking after a good washout points to mesh prep or coating, and pinholes point to dust and degreasing. Match the fingerprint to the cause before you change a variable.
- Underexposure is the most common cause of a stencil washing out after exposure.
- Doubling the lamp-to-screen distance cuts light intensity to roughly one quarter.
- Flaking that starts at image edges usually means the mesh was handled with bare hands after degreasing.
- The correct exposure is the shortest time that holds the finest detail while open areas wash out completely.
- Re-test exposure whenever you change emulsion, mesh count, coating method, light source, or bulb.
Table of Contents
- Start With a Symptom, Not a Guess
- Screen Printing Emulsion Washing Out After Exposure
- Screen Printing Emulsion Flaking Off the Screen
- Fixing Screen Printing Emulsion Pinholes
- Dialing In Screen Printing Emulsion Exposure Time
- Coating, Mesh Prep, and the Conditions That Undermine Both
- Choosing an Emulsion That Matches Your Shop
- Get Emulsion Help Before Your Next Run
- Frequently Asked Questions
Start With a Symptom, Not a Guess
Most screen printing emulsion problems look alike on the drying rack: a stencil washes out, an edge breaks down, a fine line disappears. The first instinct is to blame the emulsion.
Troubleshooting screen printing emulsion issues starts with reading the symptom, not replacing the product. Each failure leaves a fingerprint. A stencil that washes out completely points to exposure. Flaking after a good washout points to mesh prep or coating.
The Four Failure Groups
Nearly every emulsion problem falls into one of four groups. Sort your symptom into a group before you touch anything.
| Symptom | Likely Group | First Check |
|---|---|---|
| Stencil washes out completely or partly | Exposure | Exposure time and film opacity |
| Stencil flakes or peels after exposure | Adhesion | Degreasing and mesh prep |
| Pinholes or fisheyes in the stencil | Contamination | Dust, degreaser residue, drying conditions |
| Loss of fine detail or coating lines | Coating | Scoop coater angle, passes, and thickness |
Screen Printing Emulsion Washing Out After Exposure
Screen printing emulsion washing out after exposure almost always means the stencil did not get enough light, or the light could not reach the emulsion through the film. The emulsion is still water-soluble where the light never reached it.
But "not enough light" is a symptom, not a fix. Light can fail to reach the emulsion for several reasons, each leaving a slightly different fingerprint.
Underexposure vs. Overexposure
Underexposure signs:
- The image washes out completely or in patches
- Edges look soft and saw-toothed
- Fine detail disappears during washout
- The stencil feels slimy or tacky after drying
Overexposure signs:
- Fine lines and halftones close up and fill in
- The stencil is hard to wash out in the image area
- Edges look rounded rather than sharp
- Small text fills in completely
Underexposure is far more common in shops with weak light sources or thick coating. Overexposure usually shows up after someone lengthens exposure time to fix a different problem. Both are solved with a proper test, covered below.
Narrowing the Cause Before You Change the Timer
A stencil that washes out means light did not reach the emulsion.
1. Film opacity and contact. Hold the film up to a light.
**2.
3. Coating thickness. A thick coat needs more light to cure through to the mesh.
**4.
**5.
6. Humidity and residual moisture. Coated screens that go into exposure still damp from a humid drying room behave like underexposed screens.
What Each Pattern Points To
| What you see | Most likely cause | First check |
|---|---|---|
| Whole image washes out | Gross underexposure or dead bulb | Light source output, then timer |
| Fine detail washes out, solids hold | Film undercutting or poor contact | Film contact and opacity |
| Edges soft and saw-toothed | Light undercutting or thick coating | Contact, then coating passes |
| Washes out only on high mesh counts | Light scatter through fine mesh | Exposure time for that mesh |
| Washes out only on thick coats | Coating thickness | Scoop coater passes and angle |
| Inconsistent from screen to screen | Drying conditions or emulsion batch | Drying cabinet, batch date |
Once you know which pattern you have, the exposure test below gives you a number to work from instead of a guess.
Screen Printing Emulsion Flaking Off the Screen
Screen printing emulsion flaking off points to an adhesion failure, not an exposure failure. The stencil cured but did not bond to the mesh, so flakes lift under the squeegee and land in the print.
- Mesh was not degreased. Oils from handling and manufacturing block the emulsion from gripping the threads.
- Mesh was not dried fully before coating. Wet mesh traps moisture under the emulsion.
- Coating was too thick. A heavy coat cures unevenly and shears off under squeegee pressure.
- Emulsion was applied over an old stencil ghost. Residue from a previous job prevents a clean bond.
Watch out: flaking that starts at the edges of the image usually means the mesh was handled with bare hands after degreasing. Skin oils are enough to cause it.
Fixing Screen Printing Emulsion Pinholes
Screen printing emulsion pinholes are small holes in the stencil that let ink through where you do not want it. They are a contamination problem, and they are the easiest group to prevent once you know the sources.
Pinholes come from:
- Dust settling on the mesh before or during coating
- Degreaser residue left on the mesh
- Bubbles whipped into the emulsion during mixing
- Dirty scoop coater edges dragging debris across the coat
- Coated screens drying in a dusty room
The fix is process, not product. Degrease and rinse thoroughly, dry screens completely, wipe the scoop coater before every coat, and store coated screens in a dust-free cabinet.
Dialing In Screen Printing Emulsion Exposure Time
Screen printing emulsion exposure time is the single variable that solves most washout problems, and it is the one most shops set by guesswork. A proper exposure test removes the guess and gives you a number you can repeat for every screen of that emulsion and mesh.
What a Step Test Actually Measures
A step test exposes one screen through a film with patches that block progressively more light, or through a film pulled back in timed increments. The screen receives a range of exposure doses in a single burn.
An exposure calculator works the same way but converts the result into a multiplier. Expose through the calculator film, wash out, and compare the patch that held to the legend, which tells you how much to multiply your current time.
Running a Repeatable Exposure Test
- Coat and dry a test screen exactly the way you coat production screens: same emulsion, mesh count, number of passes, and scoop coater. A test screen that does not match production tells you nothing about production.
- Place the step test film emulsion-to-emulsion and pull full contact. Any gap blurs the result.
- Expose using your normal light source at its normal distance. Do not move the light for the test.
- Wash out at normal pressure and temperature for the same time you would use on a production screen. Washout that is too aggressive can blow out a correctly exposed stencil.
- Dry the screen and read it. Find the patch where the stencil holds fine detail and the next patch toward underexposure washes clean. That boundary is your working time.
- Run a confirmation screen at the time the test indicates, with a real job film. If it holds detail and washes clean, you have a baseline.
Reading the Result
A step test is only useful if you interpret it the same way every time. The rule of thumb: the correct exposure is the shortest time that holds the finest detail in the film while the open areas wash out completely.
Watch out: reading the test while the screen is still wet makes edges look softer than they will after drying. Judge the final result on a dry screen.
Recording a Baseline You Can Trust
A test result is only repeatable if you write down the conditions that produced it. Keep a log for each emulsion and mesh combination with these fields:
- Emulsion brand and product name, plus batch or date code
- Mesh count and thread type
- Number of coating passes and which side was coated first
- Scoop coater edge condition
- Light source type, bulb age, and lamp-to-screen distance
When a screen fails later, the log tells you whether a variable changed. If the bulb aged, the batch changed, or the coating passes went up, you know where to look first.
When to Re-Test
Re-test whenever you change emulsion, mesh count, coating method, light source, or bulb, after moving an exposure unit or changing its lamp-to-screen distance, or if a batch of screens suddenly fails after months of good results.
A test screen burn lets you run this test without sacrificing a production screen. If your shop is still exposing with fluorescent tubes or an inconsistent light source, an LED exposure unit gives repeatable exposures so your test result holds from screen to screen.
Exposure time depends on the emulsion, mesh count, coating thickness, and light source. Test each new combination rather than assuming a number carries over.
Coating, Mesh Prep, and the Conditions That Undermine Both
Coating and mesh prep decide whether the stencil survives at all.
Coating technique matters as much as the emulsion.
Mesh prep is the foundation. A screen degreaser removes the oils and residue that block adhesion, so emulsion grips the mesh and resists flaking and pinholes.
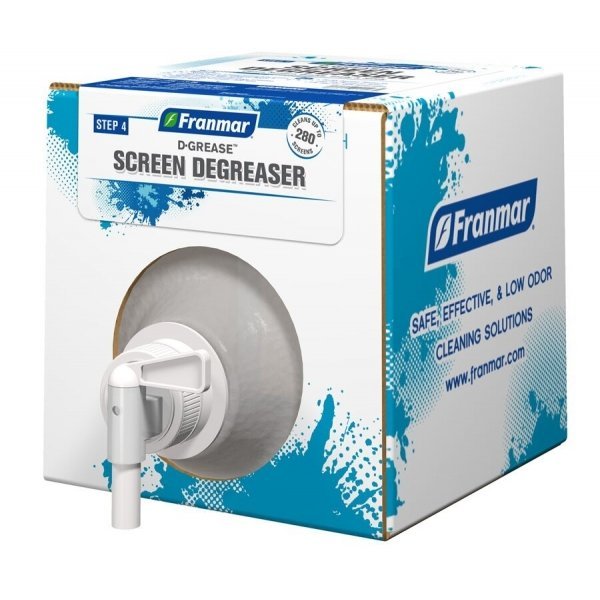
Environment plays a role too. A screen room drying cabinet controls both, so screens dry consistently before exposure and the stencil cures evenly.
Choosing an Emulsion That Matches Your Shop
The right screen printing emulsion depends on what you print, your mesh, your light source, and your production volume. A fast-exposing emulsion with high solids can cut coating and drying time. A high-viscosity emulsion gives more control when coating by hand.
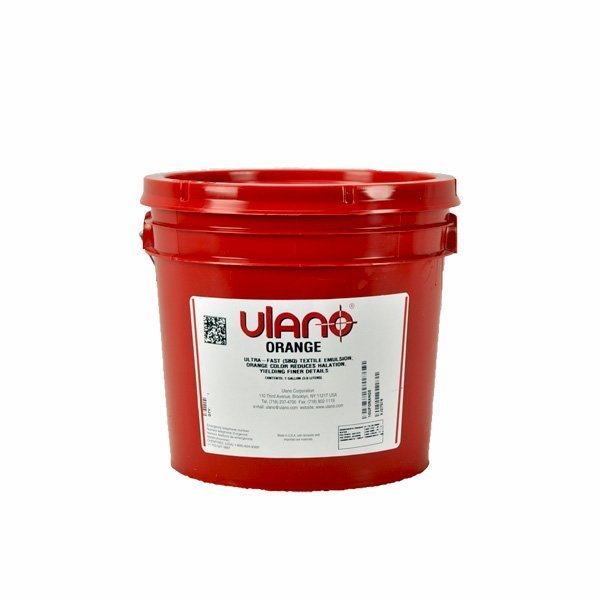
For shops running plastisol on apparel, a high-solids emulsion with good mesh bridging and fast exposure is a practical fit. If you want to compare a specific option, the Ulano Orange plastisol emulsion page lets you review the specs and buy an emulsion suited to your work.
- Apparel and plastisol: fast-exposing, durable emulsions with good mesh bridging
- Fine detail work: emulsions with high solids and good edge definition
- High-volume shops: fast-exposing emulsions that shorten screen-making time
- Low-intensity light sources: highly photosensitive emulsions that expose faster
Test any new emulsion with a step test before running production. What works on one mesh and light source may need adjustment on another.
Get Emulsion Help Before Your Next Run
Emulsion problems cost you screens, ink, and production time. The fix usually comes down to one variable: exposure, adhesion, contamination, or coating.
If you are not sure which emulsion fits your mesh and light source, or you want help dialing in exposure, McLogan can help.
Contact McLogan for help choosing the right emulsion for your screen room.
Not sure which emulsion or exposure setup fits your shop? Contact McLogan for help choosing the right supplies and dialing in your process.
Frequently Asked Questions
Why is my screen printing emulsion washing out after exposure?
Most washout after exposure is underexposure: the light did not fully cure the emulsion through its thickness, so the unhardened layer dissolves when water hits it. Other causes include a film positive that is not opaque enough, poor contact between film and mesh, a coated screen that was still wet, or an emulsion coated too thick for your light source. Before changing anything else, run an exposure test to find the time that holds fine detail without closing up.
Why does my emulsion flake off the screen?
Flaking usually traces back to the mesh, not the emulsion. A screen that was not degreased leaves oils and dust between the emulsion and the mesh, so the stencil never bonds. Overexposure makes the film brittle and prone to cracking at the edges. Coating too thick, drying in a humid room, or skipping post-exposure hardening all weaken adhesion. Degrease, rinse, and dry every screen before coating, then keep coating passes consistent.
How do I fix pinholes in screen printing emulsion?
Small pinholes come from dust on the mesh, bubbles in the emulsion, or a coating that was too thin in spots. Block them on the print side with a drop of emulsion and let it dry, or use screen filler for larger gaps. To prevent them, work in a clean area, degrease and rinse thoroughly, let the coater sit a moment so bubbles rise, and keep your scoop coater edge free of nicks.
How can I tell if my emulsion is underexposed or overexposed?
Underexposed stencils feel slimy during washout, lose fine detail, and may wash out completely. Overexposed stencils hold detail but feel brittle, crack at the edges, and can be hard to reclaim. A step-wedge exposure test shows both at once: you see the point where detail holds and where the stencil starts to break down, and you pick the time in between.


